
![[VIDEO] How I Create Personalized Mugs Blinged Out – Cute DIY Mug Designs](https://mamabearswag.com/wp-content/uploads/2019/12/phonto.png)
Some of the links in this post may contain affiliate links. This means if you click on the link and purchase the item, I will receive an affiliate commission at no extra cost to you. All opinions remain my own. Read our Disclaimer and Privacy & Disclosure.
Howdy howdy my Bear Friend. Got another really cute, simple, and fun craft project you can make from home and sell or make as a gift idea for others. How? Glad you asked! Simply create personalized mugs. Taadaah! Now this is one of my all time favorite crafts to DIY with Dollar Tree items.
Everybody knows I’m a huge mug collector. I don’t know what my problem is?! But if you were to come into my kitchen you’ll see a ton of mugs stored up. haha. Like I don’t even use 90% of the mugs I collect and I still keep buying them. But oh well… That’s just a little ole’ secret hoarder habit of mine. DON’T JUDGE! *wink, wink*.
What’s your collectable habit?

Pick An Easy Mug Design to Sell
Now there are several different easy mug design you can create for fun, make them as gifts for others, or sell them, for example: you can create a mug with just an image design and upload the image as a mock-up on the mug and then you can add it to your website for drop-shipping etc. But for today we’re going to just focus on crafting a bling mug (and I’ll be sure to share other ways that worked out successfully for myself too when designing and selling coffee mugs in future blog post).
Being that I am such a huge mug collector I would always stare at a mug in the store and wonder “how can I create personalized mugs that are fun, simple, and affordable to the average consumer?!” I would often study every-single-detail of the mugs I collected, search and research on how simple these techniques were yet they all looked difficult, and now I am so proud to say that I have personally designed several coffee mugs in the past and two of my coffee mugs turned out to be my most hot and best sellers for me. I still earn sales from my two coffee mugs I designed to-date.
If you’re already in business or have an established brand then designing coffee mugs is a great way to increase your bottom line and earn extra income on the side. It’s just another way for you to earn passive income for yourself if you’re already employed full time or if you run/own your own primary business full time, then add a ‘shop’ tab to your site and share cute DIY mug designs in your (online) shop.
How I customize my own mug
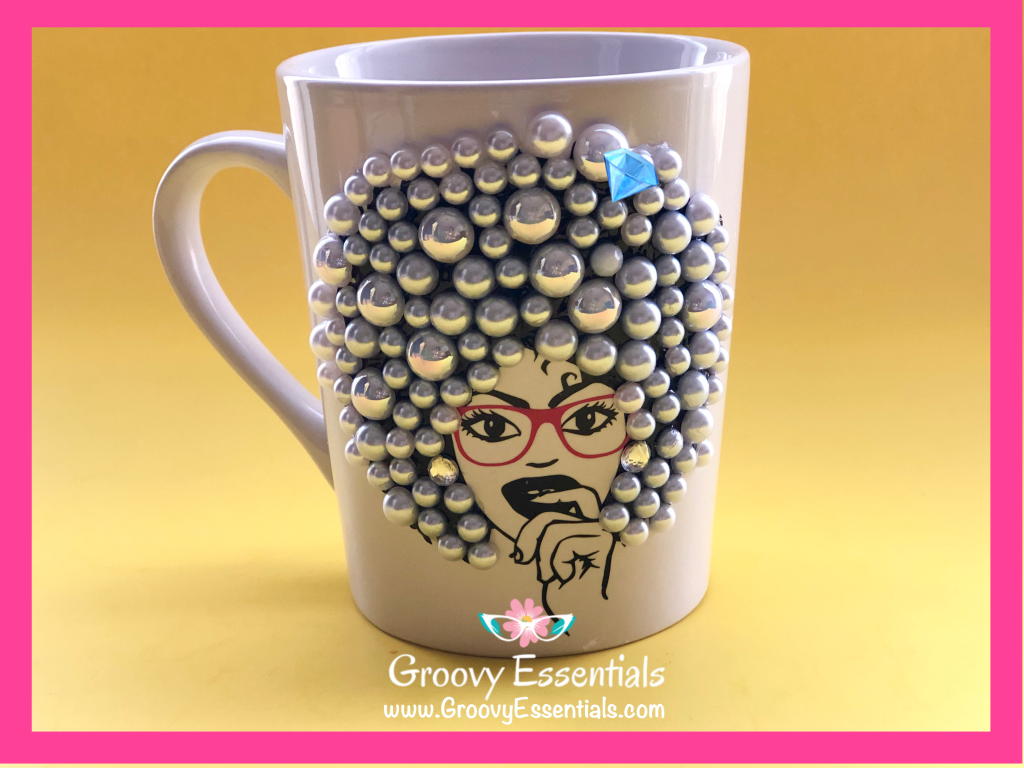
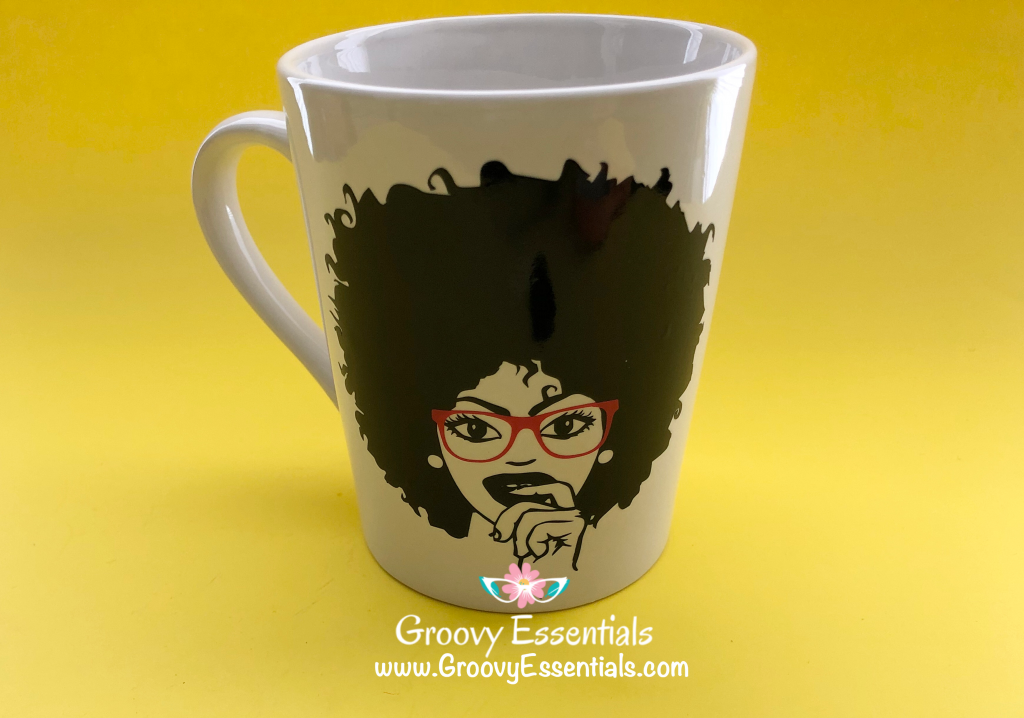
OK.. so this one is not really “bling”.☕️🍩. I made this coffee mug using pearls instead. Be sure to check back here and I’ll be uploading various DIY coffee mug designs I make myself and sell. So you can see them all.
I used Mixed Flat Back Pearls (mixed means the pack comes with both flat back pearls and flat back rhinestones. Mixed also means these stones/pearls comes in various sizes. As you can see on the afro head) 1000 in the pack for $2.99.
Plain White Mug cost me $1.00 buck from Dollar Tree.
Grabbed the image as a SVG file from Etsy $1.99 and;
Time: 15 to 20 minutes to complete.
$$$ SPENT = $5.98 $$$
(don’t forget you need glue)
Let’s now do the math on this craft idea to sell
This would retail for $24+ bucks.(we’ll say just $24.95 for this purpose). Minus money spent $5.98 = $18.97 (plus your state tax).
Imagine if you made 10 of these. Just grab Dollar Tree MUGS FOR ONE DOLLAR. So $24.95 x 10 bling mugs for one week = $250.00 x 4 weeks (per month) = $1,000. HECK, you can do this in just one week!
$1,000 extra bucks you just made for sitting on your ass at home for only 15 to 20 minutes creating customized mugs. (then minus your cost to buy supplies will = your profit).
⚡️”I don’t make excuses I make creations.” ~Janelle M.🤷🏻♀️WHOA! 💥😳Yo! Wait…🤭ok…That’s HOT!🔥 hahah.🙃 >> CLICK HERE to TWEET THAT <<
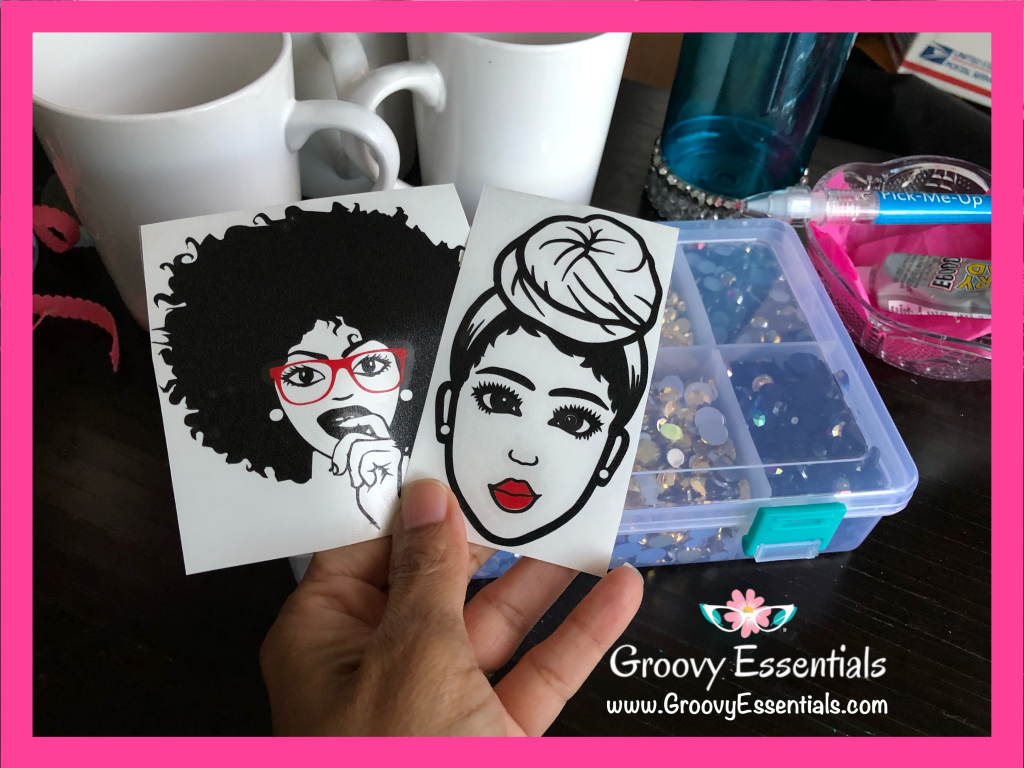
To Create Personalized Mugs Here Are Supplies I Used to Bling Out
Here are the images of everything I purchased and used for this project. Below I will also list the items individually on where you can grab them too.
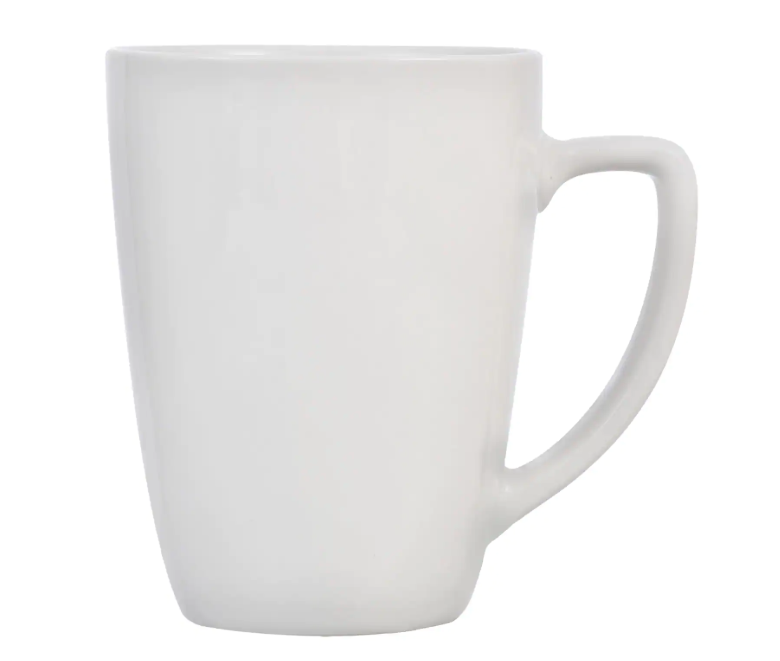
White Coffee Mug from Dollar Tree 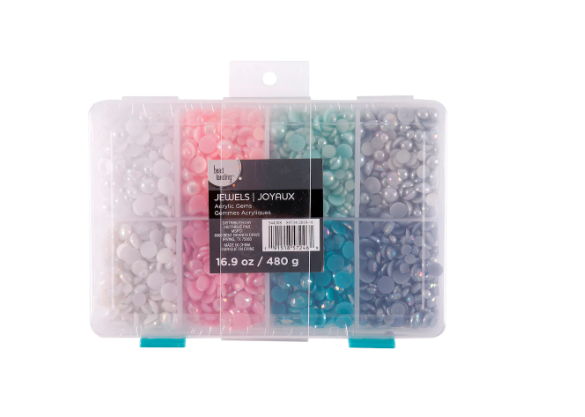
Flat-back Pearls & Beads 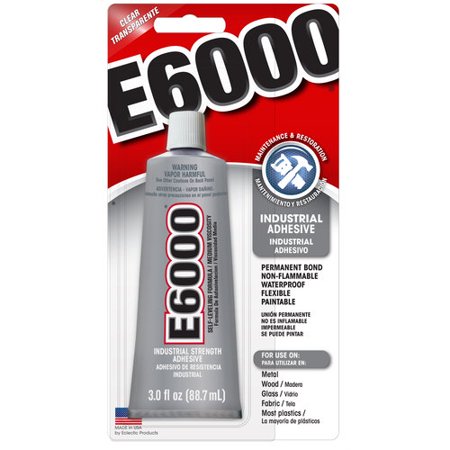
E6000 Glue 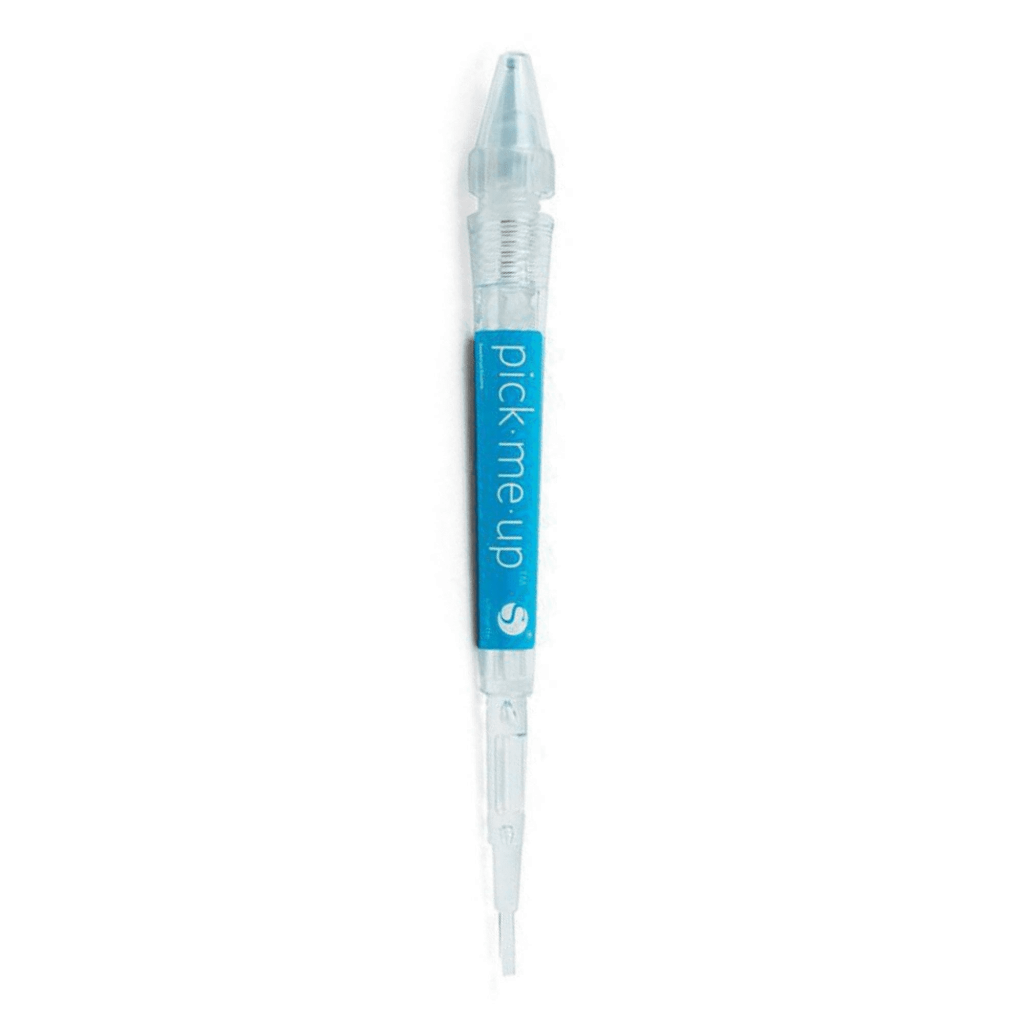
Pick Me Up Tool 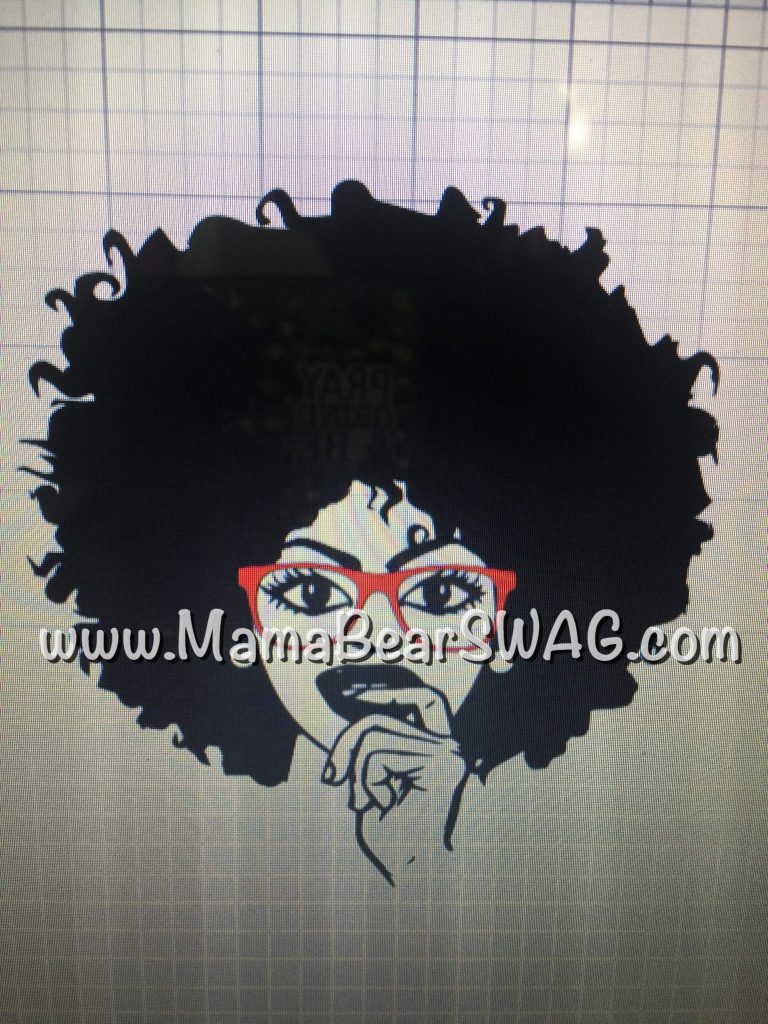
SVG image 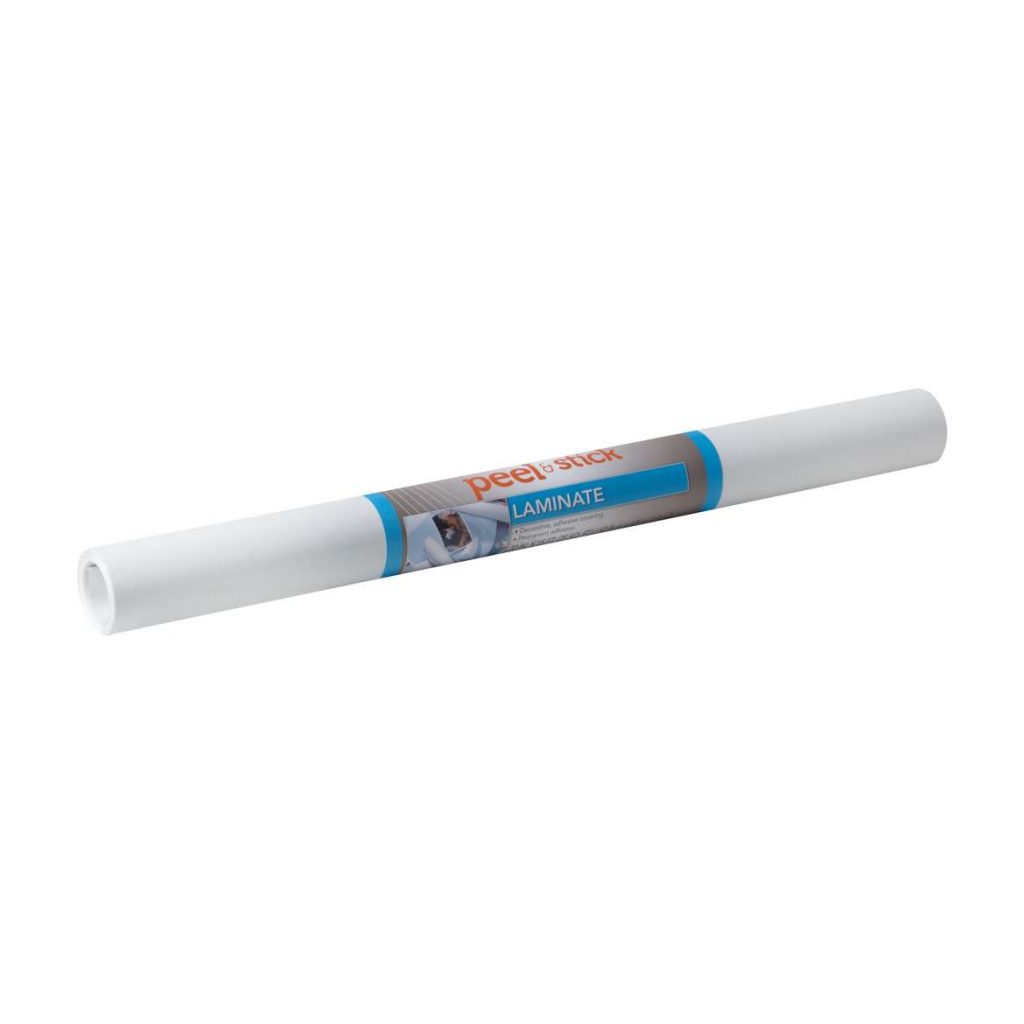
Transfer Tape
To get started with your own DIY cute mug designs to bling out you’ll literally need 6 things. I will list them all below for you where I bought my stuff from;
- Mugs from Dollar Tree. If you’re going to make this as a gift idea for others then of course buy your mugs in bulk / wholesale order.
- Flat-back Pearls – Mixed and/or Flat-back Rhinestones – Mixed. This is great to purchase as a mixed batch because you’ll receive a variety of different stone sizes to work with. If you’re planning on turning this creation into a business later on then it’s great to grab mixed pearls or rhinestones for starters as you get advanced you’ll know exactly what pearls or rhinestone shapes and sizes you’ll need and you’ll feel comfortable working with so forth.
- E6000 Glue – This is the strong adhesive glue you’ll need for your Flat-back Pearls or Flat-back Rhinestones. It’s very strong and it dries super clear. I purchased mine from Walmart (and it’s on their site for $3.97 currently) subject to change soon, I guess. But the E6000 is also sold at your local Michales and Hobby Lobby.
- Pick Me Up Tool – This tool you will need to pick up the Pearls or the Rhinestones and place on the mug. I bought mine from Michales.com. The Pearls and Rhinestones are way too tiny for you to use by finger. So please do not attempt to pick them up by hand. Get this tool and use instead.
- SVG image from Etsy – visit Etsy.com and search for ‘afro woman’ or something like that along those lines and you will see a ton of images popping up. The cost ranging between $1.99 – $3.99. Once you purchase your image it’s available inside your account for immediate download.
- Transfer Tape also known as Contact Paper – This is needed for transferring your SVG image to the mug.
Before going out to your local craft store(s) be sure to check online first to make sure the glue is available, in stock at your nearest Michales, Joann, or Hobby Lobby. I’ve made the mistake TWICE going straight to the craft stores to only discover the items were sold out / not in-stock. If I checked their website first I could have saved myself the gas (and I could have easily ordered online to have it shipped to me instead). Ugh… don’t make these mistakes I did. I am warning you!!! When in doubt, always make Amazon your ‘go-to’ shop. yay!
VIDEO: Now it’s time to watch me put together this easy mug design less than 30 minutes.
Handmade Mug Designs Instructions:
- Make sure you clean your mugs off. Wash with soap and warm water. Then dry it with paper towel.
- Spray your mug with 99% rubbing alcohol. This will remove any oils, dust, and dirt etc.. etc.. etc..
- Print your SVG image onto printable inkjet vinyl paper. I don’t have a Cricut Machine (yet) so for now I use inkjet printable vinyl paper from Amazon. I pop in this paper into my regular inkjet printer. This can be used inside any inkjet printer (note: for this project for printing on or with vinyl it’s recommend not to use Laser Printers).
- Once you’ve printed your svg image onto your inkjet vinyl paper then make sure you weed out the tiny pieces. This is called “cleaning it up”.
- Cut a piece of transfer paper and place it on top of your svg image that you printed onto your vinyl paper.
- Rub really hard with your finger and make sure every little bitty piece transfers over to the transfer “sticky” paper (just like how you see me do it on video).
- Start peeling off your transfer paper making sure the vinyl has successfully transferred over to the transfer paper.
- Place your transfer image front side of your coffee mug and begin to press firm. Rub really hard with your fingers. Or if you have a squeegee tool for vinyl then use it. This will help prevent any air bubbles or air pockets.
- Slowly peal back the transfer paper off of the image and mug.
- Grab your ES6000 glue and spread a very small amount of top of your image.
- Grab your Pick-Me-Up-Tool and begin adding your Flat Back stones or Pearls to the image
- Continue going around the image until you’re done and satisfied.
The ES6000 glue will dry very clear. So don’t worry about it, like if you’re seeing the clear glue now while you’re adding your pearls. This will need to dry for a few hours. I normally allow my mugs to dry over night.

When I was done with the mug I gifted it to my daughter’s school teacher. Her teacher was sooo stoked LOL. She then ordered 10 of these mugs from me. WHOA! Eekk… Guess this Mama Bear will be busy!!
SPECIAL NOTE:
This handmade mug design is super SAFE to use for our hot coffee or tea. Wash by hand and let this air dry. The decor will not fall off.
BUT DO NOT;
- Put in the dishwasher
- Use inside the Microwave
SERIOUS NOTE:
I shared my DIY handmade mug designs video tutorial on how I made this easy craft and look over my shoulder on how I put the svg file on top of the mug over on my YouTube channel. You can go here and watch me.
Looking for a way to create personalized mugs? Well I got one for yah! I totally hope you’re going to give this a try? Come inside my DIY Crafting Facebook group and let all of us Mama Bears seeee
xo Lady J ox
❤️Mama Bear SWAG🐻
P.S. Enter in your name & email address below to grab your cheat sheet: “10 Best Handmade Craft Ideas You Can Make to Sell From Home (and earn extra income on the side or make as a gift for others)”.


These are such fun mugs. You did an amazing job! These would make amazing and unique gifts.
Aw. Yay! Thank you so much Amber. I truly enjoyed making this craft. Hugs🤗
Such a cute idea and if you don’t keep the mug you can give it as a present. I love the dollar store so i might go there soon and get some mugs of my own
Hi Melissa. Oh yes… you NAILED IT!
Oh my gosh! How cute and how fun! I love this idea.
Yay!🎉 Thank you so much Brianna. My favorite part of this mug is the glasses🤓 SWAG!🤩
Oh my goodness this is incredible! I would never have thought of doing something like this – I totally need to give this a whirl – I bet mind won’t come out anywhere as nice though.
😆aww.. Thank you Sarah!! Don’t be so hard on yourself. You would be amazed on how easy, simple, and quick this mug craft design takes to complete. Thank you so much for popping by and I’m glad you enjoyed the video tutorial.
This is such a great idea. I love it! That mug turned out so nice. I would definitely like to make one of these too.
Yay!! Thank you Kathy. Appreciate you. Yes, give this a try and totally let me know if you have any questions. Happy holidays!!
I need to do DIY projects. They seem so daggone fun and yours are cute.
Yes. LOL. Very fun and cute. I love making projects that are quick and puts a smile on peoples faces. Love to make stuff that makes them happy.😊
What a smart DIY post! I love your ideas, and I love what you did with the coffee mug!
Hey there Mitch. Thank you so much friend. Yes, makes a great gift for the ladies.
What a fabulous mug! I haven’t broke out my Silhouette in a while, but now I am wanting to go create some mugs. Wonderful job!!
Ahh yeah!! GET THAT SILHOUETTE MACHINE OUT!!! lol. I don’t have a machine (yet), no Cameo or Cricut, but I just simply use inkjet printable vinyl for my regular printer.
Oh my goodness these mugs are absolutely adorable! I just can’t get enough of them.
Aw. Yay!! Thanks so much Lisa. Hugs🤗
First of all, I am feeling that mug with the Afro! This craft idea is one I must try. You truly have a gift and I can see why you are obsessed with making them. I love doing arts and crafts. You make me want to go to the store now to buy some things!
Aww lol. Thank you Tysheira. Yes, please give this a try and then post it inside the private group so we can all seeeee. Hug 🤗
This is a very creative way to make a coffee mug. I love the artistic design and the process is awesome! I love how crafty you are, if only I could be so crafty!
Thank you dear. Aww. Don’t be so hard on yourself. The good news is this craft is so easy and simple (and quick) anyone can cook this up.
This is a wonderful idea. Don’t forget that Micheals, Hobby Lobby, JoAnne Fabrics offer coupons too. It’s usually 40% off one item that isn’t on sale. So next time you need glue, a rhinestone tool, or craft supplies, don’t forget to use the coupon to save on your item. It may not be much savings on a tube of glue but if you can save even a little it, you can increase your profit. 🙂
Yes, that is correct. I have all those apps on my iPhone and I get notifications whenever there’s new sales and coupons available. Thanks for sharing this reminder tip for us all. Yay!
OMG i’m totally in love with your mug design. What a fun creative way to personalize your mugs. Thanks for sharing all the details.
Hi Jenn, thank you. Hugs🤗
My collectible kryptonite is currency and bullion. I love older coins and different versions of silver dollars from around the world. However the way you broke down the sales of mugs is brilliant and a great model for additional income.
Whew! Nice collectible EG III and I like the fact that you collect different version of them from around the world. Pretty SWAG though. I enjoyed making this easy DIY mug design and love sharing it with others (who are looking for ways to earn extra income on the side) as well. Thank you so much for passing by. I appreciate your visit.
I have a lot of mugs, but nothing with this much bling! I’m in love with the added pearls. Definitely makes getting your day started more fun.
Yes!!🤩 I LOVE making them as a great gift ideas for others. It really does start someone day off with a bit of fun, because it puts a huge smile on their, face all by simply making something small and unique. Happy and smiles makes us live longer.
This is awesome! The result is amazing, and it sounds pretty easy to make!
Heyyyy Rika. Thank you so much dear.
These are so freaking cute. You definitely have more patience than me lol. Beautiful mugs and great idea.
Thank you so much Monique. Aww. It’s my FAVORITE quick item to make. 😍
This is a fun mug! It is so nice of you to share your ideas with us so we can earn some extra money too.
Yay!! Thank you so much Beth. Yes, I LOVE sharing my “how-to’s” and knowledge with others. Glad you enjoyed. Hugs🤗
This is a great way to dress up all those mugs! It’s a nice gift idea as well. Thanks for the tutorial!
Yes Terri. Make it pretty. “Life is too short to use a boring mug” 🤣
These mugs are beautiful! Thank you for sharing the process. I love how beads were used to recreate an afro.
Hey there Kim!! Aw, you’re super welcome. Happy to share easy, fun, and simple handmade goods that ROCKS! Thanks for passing on by. Hugs🤗
Wow! this is such a nice idea. Great to loosen up and bring out the creativity in me. Let’s see how will it works on me.
Thank you Jona. Oh it will work out perfectly well. Don’t forget to post your craft mug when you’re done inside the private group https://www.facebook.com/groups/mamabearswag. Yay!🎉
That is so cute. You did a great job. I saw someone make a shelving unit to house all their mugs. Maybe you should do the same.
Hey Holly!! Thank you so much friend. Oh that is a great idea with the shelves. I definitely need to try and do something like that for myself because I have a whole lot of coffee mugs and it’s a huge collectible habit of mine lol.
Oh wow! I love your idea. This is very creative and fun to do ! Thanks for sharing this ♥♥
Thank you so much Jhentea!! It’s my FAVORITE 🥰